
A dieline is a flat 2D template that serves as the crucial blueprint for cutting, folding, and printing a 3D packaging structure. Imagine the horror of a highly anticipated product launch where your custom luxury boxes finally arrive, only for you to find the graphics warped, critical branding text sliced in half, and the folding tabs failing to lock together. This nightmare agitates your team, drains your hard-earned marketing budget, and forces an expensive, stressful redesign process that delays your market entry. Fortunately, understanding what is dieline in packaging acts as your ultimate safeguard, serving as the master engineering template that translates digital artwork into physical perfection without a single millimeter of error.
What is a dieline in modern packaging?
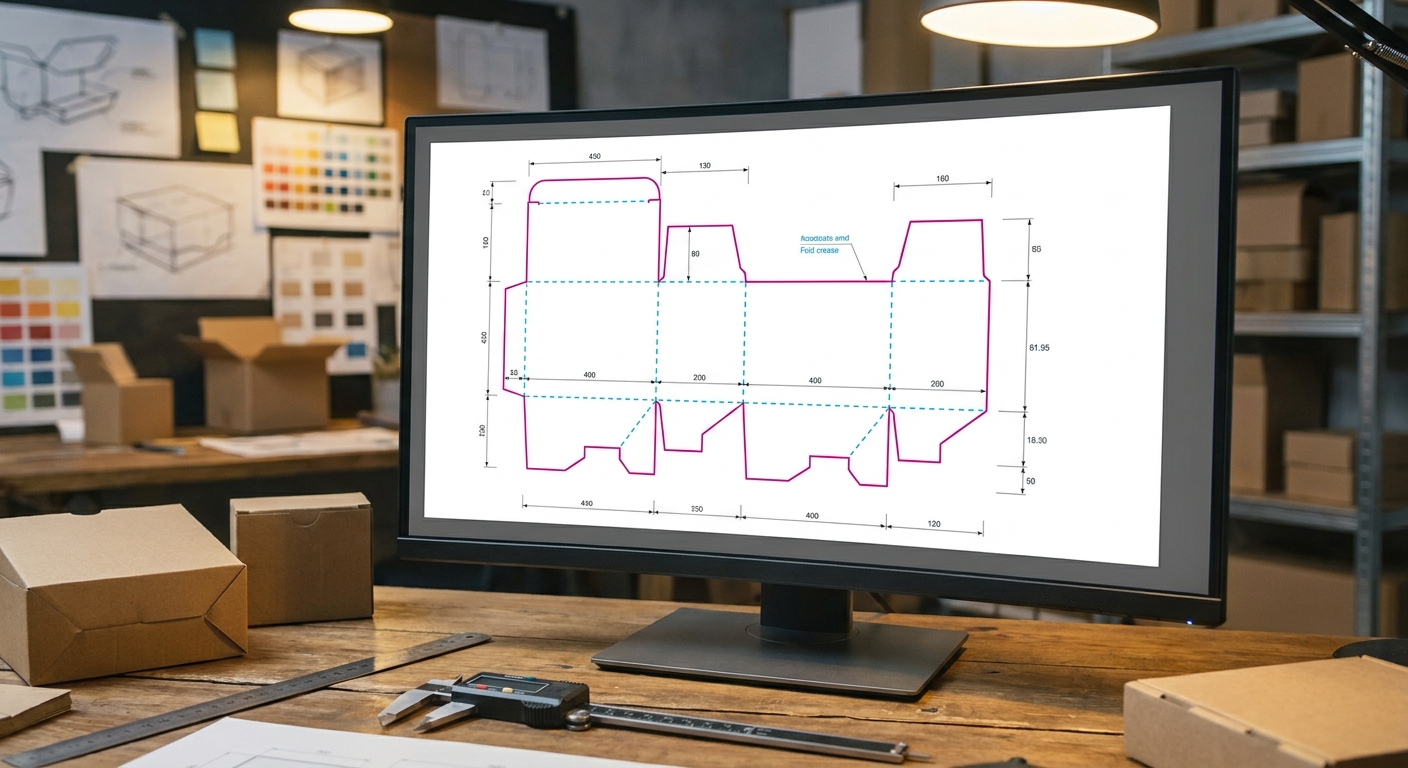
A dieline in modern packaging is the primary physical map that dictates exactly where a manufacturing machine will print, score, fold, and slice your materials. If you want to master what is dieline in packaging, you must view it as the essential bridge between flat digital canvas and dimensional reality. This mechanical guide ensures that packaging designers and heavy press operators are perfectly aligned on the box’s final shape.
How flat templates translate to 3D boxes
Think about it: every premium box starts its life as a completely flat sheet of paperboard before it is folded into shape. The flat template contains all structural components unrolled onto a single plane, allowing graphic elements to sit accurately across multiple panels.
- Main Panels: Front, back, and side faces of the container.
- Tuck Flaps: Flanges that insert into the box to close it securely.
- Glue Tabs: Hidden margins where adhesives are applied for assembly.
The mathematical blueprint of package scaling
To scale your packaging without structural defects, your template must use perfect mathematical vector calculations. Standardizing measurements ensures your graphics remain unwarped when the paperboard bends around hard corners.
| Template Component | Operational Purpose | Key Metric | |
|---|---|---|---|
| Main Panels | Displays primary product graphics | Exact millimeter width/height | |
| Tuck Flaps | Closes the physical structure | Standard insertion depth | |
| Glue Tabs | Secures the final box seams | 10mm to 15mm width |
Analyzing this data reveals how critical early template planning is for perfect physical execution.
Key Takeaway: Unfolding a physical sample reveals the exact mathematical boundaries your digital designs must respect to prevent warping.
Why do accurate dielines protect your brand?

Accurate dielines protect your brand by eliminating graphic misalignments, warped logos, and structural box collapses during shipping. When you invest in premium branding, understanding what is dieline in packaging prevents costly print errors and protects your expensive custom inventory. Without this mechanical precision, your products risk arriving in crushed or poorly fitting containers that damage customer trust.
Securing perfect logo and graphic placement
Here is the thing: a stunning graphic layout is useless if your brand’s central logo gets folded into a corner seam. The template defines safe zones that keep critical brand messaging away from cutting edges and folding stress points.
- Safe Zone Margin: Keeps text at least 3mm away from cut lines.
- Visual Focus Panels: Highlights the primary panels visible to retail consumers.
- Seam Alignment: Ensures graphics flow seamlessly across separate panels.
Ensuring structural strength in transit
Packaging must perform under pressure, especially during transit when stacked in pallets. The template calculates corner joins and locking tabs to ensure the container resists heavy external crushing forces.
| Brand Quality Goal | Technical Dieline Metric | Protective Result | |
|---|---|---|---|
| Logo Clarity | Safe Zone Margin (min 3mm) | No text cut off during trim | |
| Transit Survival | Structural Corner Flaps | Increased top-load crush strength | |
| Unboxing Experience | Lock Tab Friction | Secure closure that opens easily |
Analyzing this data reveals how critical early alignment is for structural box safety and shelf impact.
Key Takeaway: Prioritizing internal safe margins on your vector paths guarantees that your logo is always front, center, and flawless.
Which standard lines make up a dieline?
A standard dieline is made up of distinct, color-coded vector pathways that communicate cutting, folding, and perforation instructions to production machinery. Understanding how these lines represent physical actions is essential to grasp what is dieline in packaging and prevent production failures. By standardizing these colored lines, packaging designers and print operators can easily read mechanical files without confusion.
Distinguishing cut lines from fold lines
The entire design relies on two primary line types that tell the heavy stamping machines exactly where to cut and where to crease.
- Cut Lines (Red): Solid paths that dictate where the steel blades will slice entirely through the paperboard.
- Crease Lines (Green): Dashed paths showing where the material will be compressed for folding.
- Bleed Lines (Cyan): Outer boundaries where background graphics must extend to avoid white borders.
The hidden purpose of perforation marks
The best part? Perforation paths allow for advanced functional details like tear-away strips and easy-open flaps. These lines alternate between small cuts and solid spaces to balance structural strength with consumer convenience.
| Line Type | Standard Vector Color | Machining Operation | |
|---|---|---|---|
| Cut Line | Solid Red (or Magenta) | Direct blade shearing | |
| Fold Line | Dashed Green (or Blue) | Dull wheel compression scoring | |
| Perforation Line | Dash-Dot-Dash Green | Intermittent cutting and spacing |
Analyzing this data reveals how critical early line-color standardization is for automated machine setup.
Key Takeaway: Always separate your cut, fold, and perforation lines onto distinct color layers to keep your manufacturing files clear.
How do engineers draft dielines from scratch?
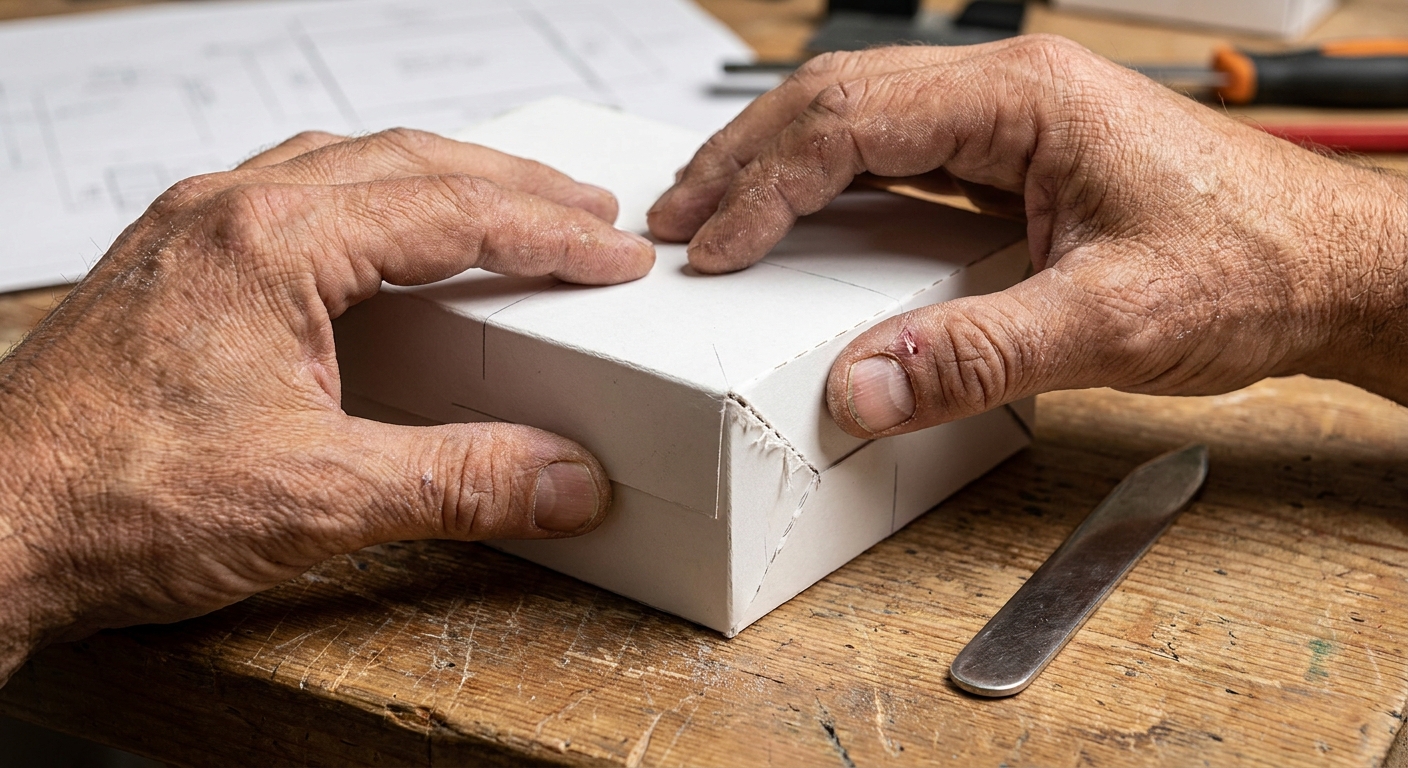
Engineers draft dielines from scratch by using precise product measurements and physical packaging benchmarks to build a flat vector grid. Mastering this process is key to realizing what is dieline in packaging and ensuring that your premium containers fit your product like a glove. This manual drafting stage forms the foundation for all computerized design work that follows.
Deconstructing and measuring reference boxes
To start, the easiest method is to deconstruct an existing box style that already fits your target dimensions perfectly.
- Careful Unpeeling: Disassemble the adhesive joints of a benchmark box without ripping the fibers.
- Calipers Inspection: Use digital calipers to measure exact panel widths down to fractions of a millimeter.
- Flap Assessment: Measure the insertion angles of tuck flaps and glue joints.
Creating hand-cut physical mockups first
Think about it: digital designs can lie, but physical mockups never do. Printing a rough vector template and cutting it out by hand allows you to test structural fits immediately.
| Drafting Phase | Tool Used | Primary Design Objective | |
|---|---|---|---|
| Benchmark Analysis | Digital Calipers | Capture base dimensions and flap angles | |
| Vector Grid Setup | Illustrator / CAD | Create clean mathematical geometry | |
| Hand Mockup | Precision hobby knife | Test fit and folder clearance |
Analyzing this data reveals how critical early physical validation is for preventing sizing disasters.
Key Takeaway: Testing your flat template with a simple paper mockup reveals structural flaws before you pay for tooling.
What design software is best for templates?
The best design software for templates includes vector-focused programs like Adobe Illustrator and specialized structural engineering tools like ArtiosCAD. Understanding which tools to deploy helps you master what is dieline in packaging and streamlines your collaborative workflow with manufacturers. Using the wrong programs, such as pixel-based image editors, will result in templates that factories cannot use.
Why Adobe Illustrator is the design standard
Adobe Illustrator remains the favorite tool for graphic designers because it blends creative freedom with high technical vector precision.
- Layer Separation: Allows artwork to sit safely below locked structural paths.
- Non-Printing Spot Colors: Helps isolate cut and crease lines from CMYK artwork.
- Pen Tool Control: Offers pixel-perfect control over custom path anchor points.
When to deploy specialized CAD tools
Here is the thing: while graphic artists love Illustrator, industrial packaging engineers rely on specialized CAD systems. Software like ArtiosCAD automates dimension offsets for heavy cardboard thicknesses automatically.
| Software Tool | Primary Purpose | Best-In-Class Feature | |
|---|---|---|---|
| Adobe Illustrator | Applying branding graphics | Spot-color routing and vector artwork | |
| ArtiosCAD | Heavy structural design | Material caliper offsets and 3D folding | |
| Adobe InDesign | Multi-page manuals | Layout integration with template files |
Analyzing this data reveals how critical early software selection is for project collaboration and manufacturing efficiency.
Key Takeaway: Combine ArtiosCAD structural designs with Adobe Illustrator graphics to achieve the best results in packaging layouts.
What are the strict rules for vector files?
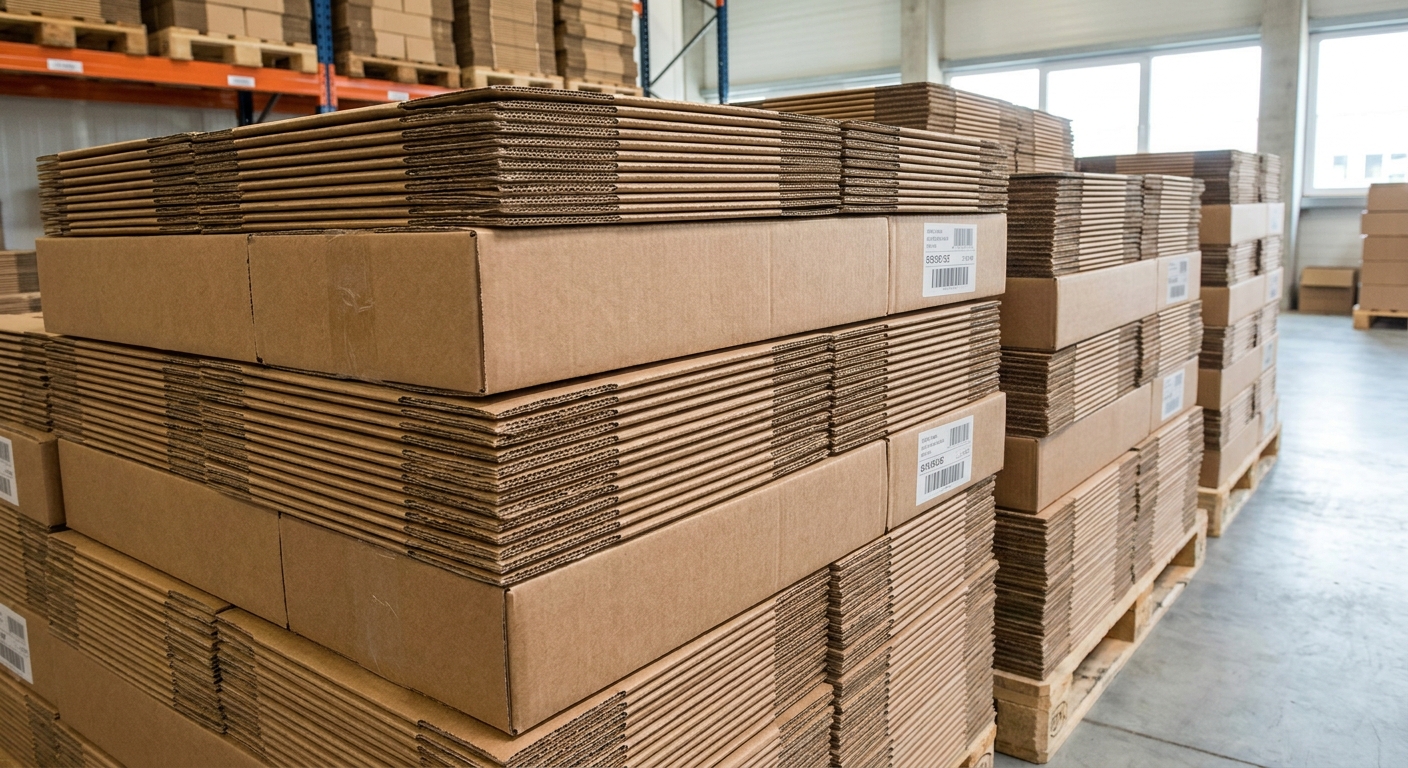
The strict rules for vector files require all structural pathways to be drawn as clean, mathematically defined lines with zero raster elements or stray points. Adhering to these clean file setups is vital when applying what is dieline in packaging to your high-end brand packaging runs. Failing to supply vector paths will halt production because manufacturing lasers and cutting plotters cannot read pixels.
Avoiding pixelation with clean vector paths
Unlike standard image files, vector lines use mathematical formulas to calculate paths, ensuring perfect clarity at any scale.
- No Raster Elements: Never include JPG or PNG images on your template layers.
- Perfect Scaling: Vectors maintain exact physical sizes when sent to print.
- Stroke Uniformity: Keep line weights consistently thin, typically 1pt or less.
Organizing files into multi-layer systems
The best part? Keeping your files organized into distinct layers prevents print operators from accidentally printing your layout guides.
| Layer Order | Layer Name | Vector Attributes | Function | |
|---|---|---|---|---|
| Top Layer | Dielines (Non-Print) | Spot Color / Overprint | Machinery commands | |
| Middle Layer | Special Finishes | Vector Spot Color | Premium finishes (Foil/UV) | |
| Bottom Layer | Artwork & CMYK | Standard CMYK Process | Brand colors & logos |
Analyzing this data reveals how critical early layer segregation is for preventing prepress delays.
Key Takeaway: Keeping your dieline layer strictly locked at the top of your layout prevents accidental, costly file shifts.
How do margin lines prevent print errors?
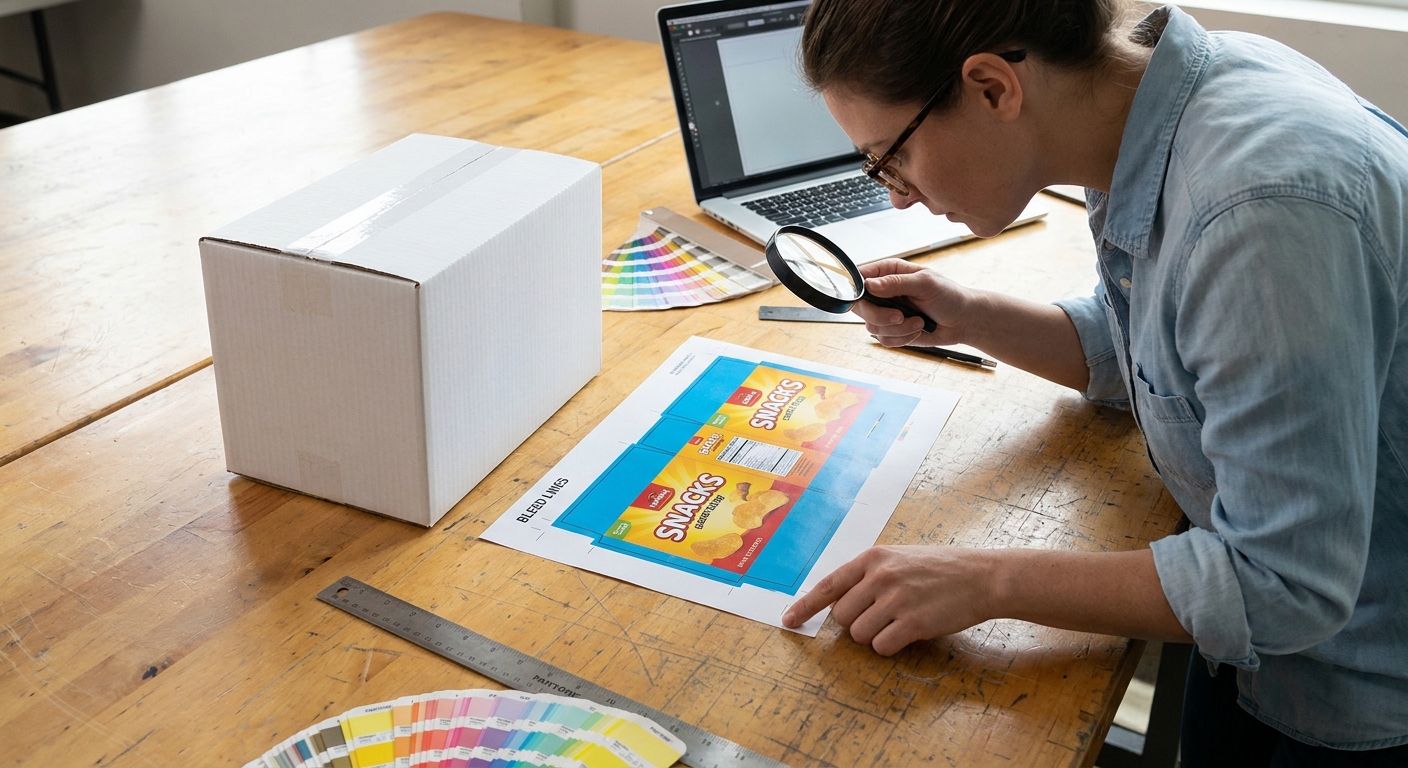
Margin lines prevent print errors by establishing clear boundaries that absorb the physical shifts and tolerances of manufacturing machinery. When studying what is dieline in packaging, you must look at margin lines as protective insurance for your layout graphics. Without these built-in buffers, even a tiny shift on the press can ruin your premium boxes.
How bleed settings stop white edge errors
Think about it: no printing press can run with 100% mechanical alignment, as paper sheets shift slightly during high-speed runs.
- Bleed Boundaries: Extend background artwork 3mm past the cutting lines.
- Clean Slicing: Ensures that if the blade shifts, it still cuts through color.
- No White Gaps: Eliminates ugly raw paper lines on box edges.
Establishing safe zones for vital copy
Just as bleeds protect the outer edges, safe zones protect your text from getting cut off. Keeping logos and legal copy at least 3mm inside the cut line ensures they stay clean.
| Protective Margin | Required Offset | Primary Safeguard | |
|---|---|---|---|
| Bleed Margin | 3.0mm (External) | Prevents raw white edges | |
| Safe Zone | 3.0mm (Internal) | Prevents brand text trim | |
| Glue Area | 5.0mm (Unprinted) | Ensures strong adhesive bonds |
Analyzing this data reveals how critical early margin enforcement is for maintaining visual quality control.
Key Takeaway: Implementing strict bleed and safe boundaries during the design phase eliminates the risk of white-edge cutting errors.
Can dielines adapt to non-square shapes?
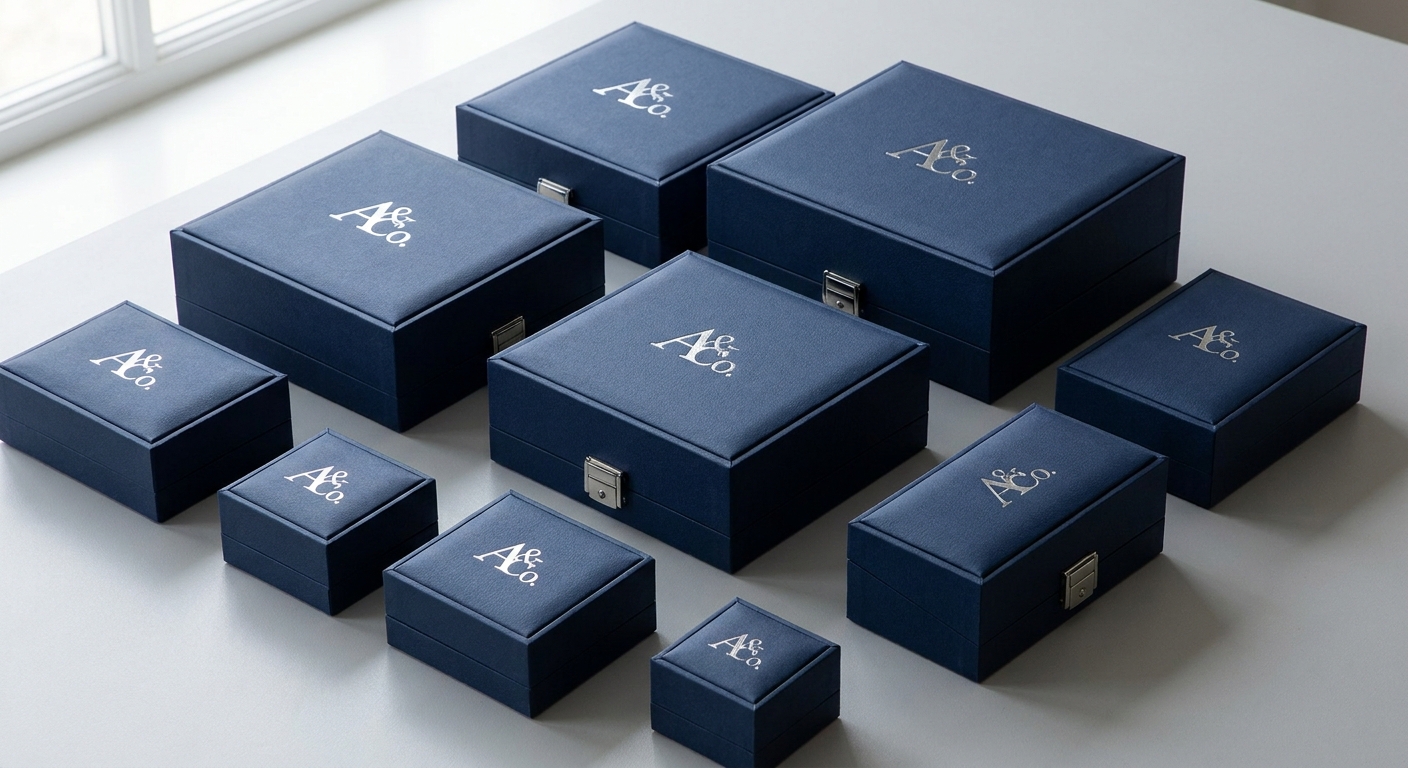
Dielines easily adapt to non-square shapes by incorporating complex curves, relief slits, and folding geometry into the flat template. Designing for non-traditional products shows how versatile what is dieline in packaging can be when managing custom brand presentations. Whether you are packaging perfume bottles or jewelry, curved layouts demand careful engineering to prevent structural failures.
Handling curves in luxury cosmetic boxes
Here is why: paperboard resists folding in multiple directions at once, meaning curved panels require specialized cuts to fold smoothly.
- Relief Slots: Small cuts that ease physical strain on curved creases.
- Flange Geometry: Adjusted flaps that secure round lids snugly.
- Grain Alignment: Aligning the paper grain to fold smoothly around curves.
Developing custom inserts and inserts
A premium unboxing experience often relies on custom inserts to secure delicate products inside the outer box. These internal dielines are engineered to cradle and protect your product throughout transit.
| Packaging Form | Custom Feature | Dieline Solution | |
|---|---|---|---|
| Cosmetic Bottle | Curved profiles | Contoured relief cuts | |
| Jewelry Box | Rigid sliding drawer | Precise double-crease borders | |
| Gift Presentation | Clear window panels | Die-cut window paths with clear film |
Analyzing this data reveals how critical early dimensional checks are for complex, non-traditional shapes.
Key Takeaway: Non-square packaging requires custom internal inserts to support products and maintain structural stability.
How does manufacturing execute a dieline?
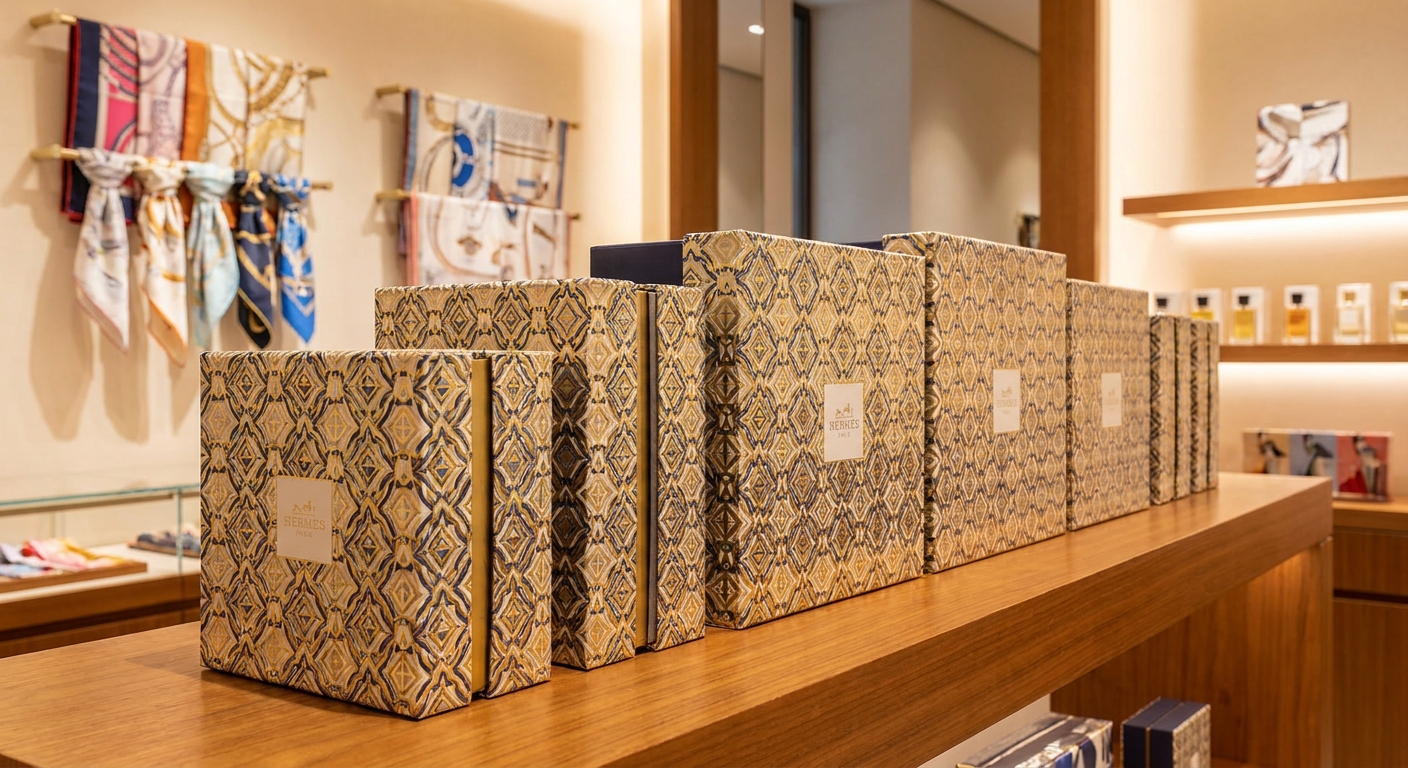
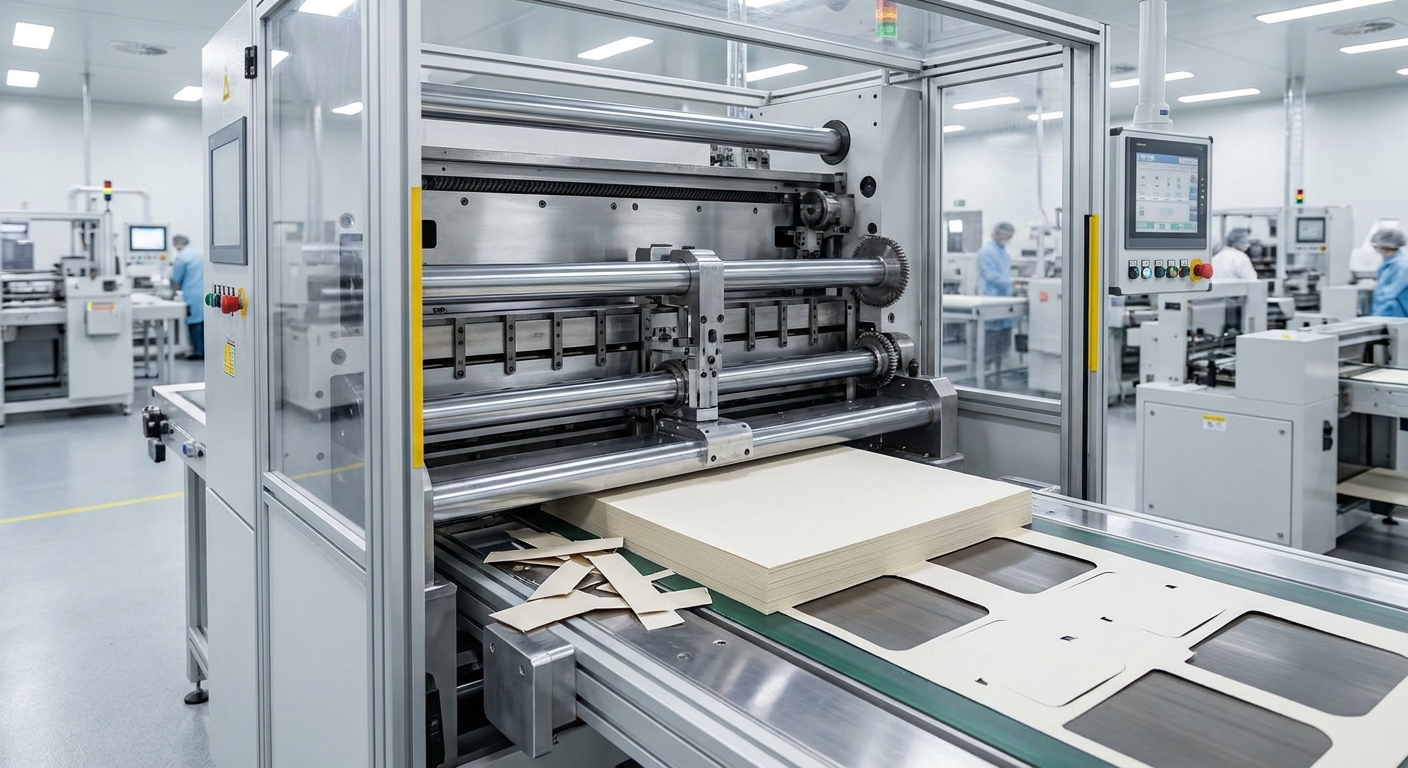
Manufacturing executes a dieline by translating your digital vector paths into physical steel cutting dies and automated machine instructions. This physical fabrication step is where understanding what is dieline in packaging turns digital art into real-world structures. This industrial process ensures that your boxes are cut, folded, and assembled with absolute consistency at scale.
Laser routing wood and steel cutting dies
To manufacture your boxes, the factory must first create a dedicated physical stamp called a steel-rule die.
- Laser Routing: Industrial lasers cut your exact vector path into a thick wood board.
- Rule Bending: CNC machines bend razor-sharp steel ribbons to match the pattern.
- Rubber Ejectors: Foam pads are placed along the blades to push the cut board out.
Coordinating high-speed press runs
The best part? Once the steel die is mounted in a high-speed press, it can stamp out thousands of clean, identical boxes every hour.
| Production Stage | Machine Tool | Operational Metric | |
|---|---|---|---|
| Die Routing | CO2 Industrial Laser | Precision slot cut of 0.7mm | |
| Rule Bending | Automated CNC Bender | Perfect steel rule angles | |
| Stamping | Platen Die Cutting Press | High-pressure, high-speed output |
Analyzing this data reveals how critical early vector accuracy is for automated tool fabrication.
Key Takeaway: Your vector dielines directly shape the physical steel tools used to cut your boxes, making early precision essential.
Why is physical sampling linked to dielines?
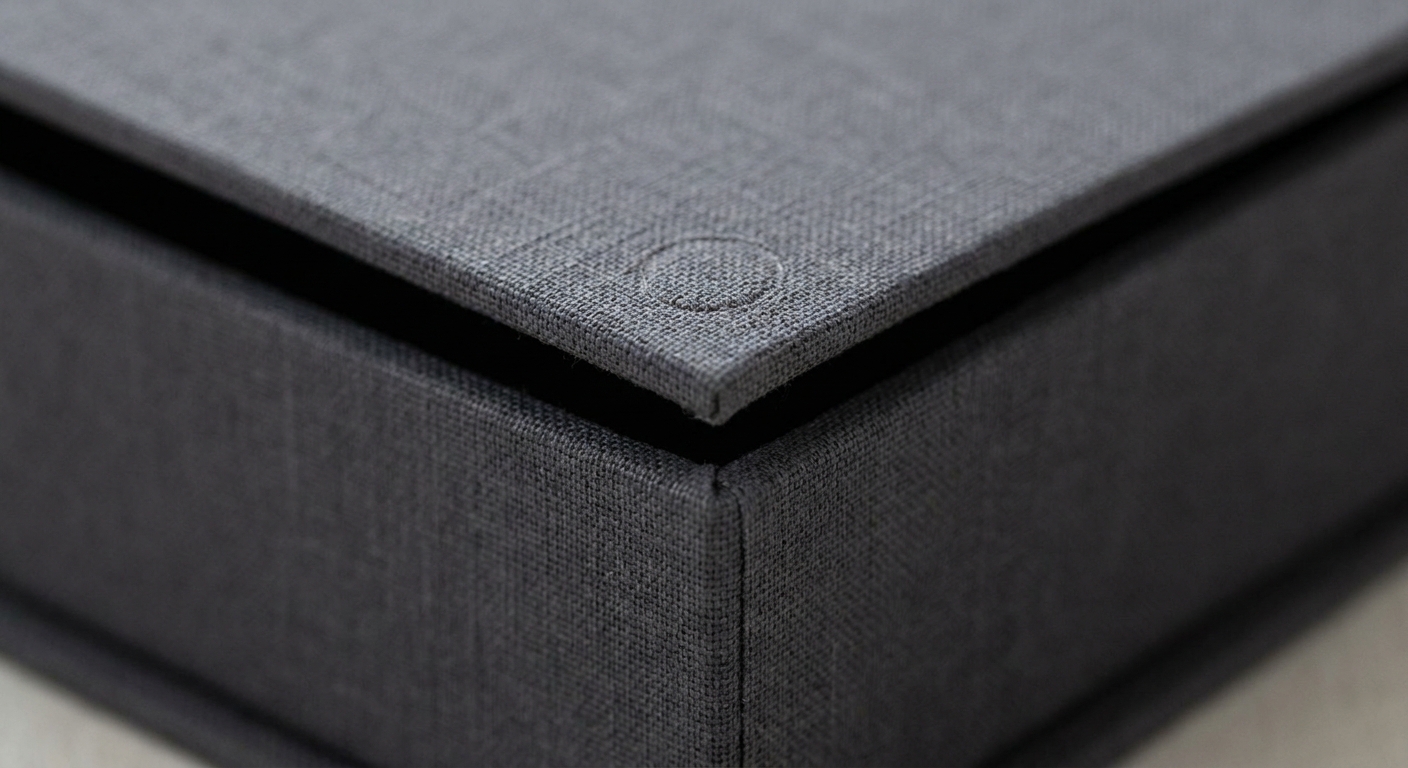
Physical sampling is linked to dielines because it acts as the ultimate real-world test to verify digital measurements before committing to mass production. Prototyping is where what is dieline in packaging proves its worth by helping your team find and fix design errors early. Without a physical sample, you risk spending thousands of dollars on steel tooling that does not fit your product.
Validating CAD models with plotter cutouts
Think about it: digital designs cannot show you how paperboard folds or feels in your hands.
- Plotter Slicing: A computer-guided knife cuts individual sample sheets without expensive tooling.
- In-Hand Assembly: Hand-folding the sample helps test tab fits and cardboard stiffness.
- Fit Testing: Placing the physical product inside ensures a secure, snug fit.
Eliminating bulk production flaws early
Here is the thing: resolving a minor flap issue on a sample is cheap and easy, but discovering a mistake during a massive production run is a disaster. Testing physical proofs ensures your final bulk order is flawless.
| Sample Phase | Validation Method | Key Metric Checked | |
|---|---|---|---|
| Structural Sample | Blank plotter cutout | Product fit and fold geometry | |
| Preproduction Proof | Full-color printed sample | Image alignment and foil accuracy | |
| Bulk Production | Die-cut press run | Sizing consistency across batches |
Analyzing this data reveals how critical early physical validation is for protecting your budget and ensuring quality.
Key Takeaway: Never skip the physical sample phase, as it is your final safety net to guarantee a successful packaging launch.
Engineering Your Success From Flat to Finished
Creating custom luxury packaging is a balancing act between creative brand design and precise mechanical engineering. By understanding how dielines guide cuts, folds, and margins, you can easily protect your brand from the nightmares of misaligned graphics, warped logos, and wasted production budgets. Your custom box deserves more than guesswork; it requires the experienced hand of structural packaging professionals who can bring your creative vision to life flawlessly.
At King Tai, we coordinate your entire project from structural vector designs and physical white samples to premium mass production. Our team is ready to guide you through every step of the engineering process to ensure your final custom packaging matches your brand’s standards. To turn your digital design into a stunning retail reality, contact us today and let us build your perfect packaging solution.
Frequently Asked Questions
Can I use Adobe Photoshop to create my final packaging dieline file?
No, it is not recommended. Photoshop is a pixel-based program, and packaging manufacturers require clean, infinitely scalable mathematical vector paths from programs like Adobe Illustrator or ArtiosCAD to run cutting machinery.
What’s the best way to determine the correct paperboard thickness for my custom boxes?
The best way is to consult with your packaging manufacturer during structural planning. They will evaluate your product’s total weight, fragile nature, and shipping hazards to recommend the ideal cardstock or corrugated board caliper.
How do I know if my background artwork has enough bleed margin?
Yes, absolutely verify that your graphics extend 3mm past the cutting lines. Checking that your background patterns overshoot the red cut lines ensures that any mechanical paper shifts during high-speed printing will not leave ugly white borders on the final product.
Can I place my main branding elements directly onto the dieline layer of my design file?
No, you should never do this. Keep your dieline on its own dedicated, locked layer at the top of the document, and place all color graphics, logos, and body text on separate layers beneath it to prevent production file errors.
How do I know if I need to run a physical sample before ordering bulk production?
Yes, absolutely always order a physical structural sample first. Placing your product inside a plotter-cut physical proof is the only way to verify that your digital dimensions, tolerances, and flap closures are completely flawless.